
Wanna know how to install the font into photoshop? Landed in the right place. Adobe Photoshop comes with a lot of stock fonts as default but those fonts are not satisfactory for our designs.
Designers make different designs and font is the main part of the design and if we use that stock font the design will not give its professional look for sure.
This means that if we are required to build a banner for any product, we must choose creative and eye-catching typefaces to give the banner a truly polished appearance. Photoshop’s built-in typefaces are not usable.
Now in means of installing new fonts in Adobe Photoshop still make trouble for some designers.
The main part is any font that is installed on your computer or laptop is automatically installed in your Adobe Photoshop. We just have to install it on our PC or MAC hardware.
So we have to add fonts in our computer and we can do that in some simple clicks but if you are using the latest version of Adobe Photoshop so when you install fonts in your Windows it will automatically be added to Photoshop but if you have an old version of Photoshop then after installing fonts you have to restart your Adobe Photoshop to see fonts in there.
Now we’ll learn how to install the font in Photoshop on PC or MacBook so follow my step-by-step method.
Let’s Go For It!
Table of Contents
Install Font On Photoshop On Windows
Step 1: Download Font In Computer
First, we have to download the font we want to install and use in our design on our pc. You can buy premium fonts and also can use free fonts it’s totally up to you and which suits your design and your taste.
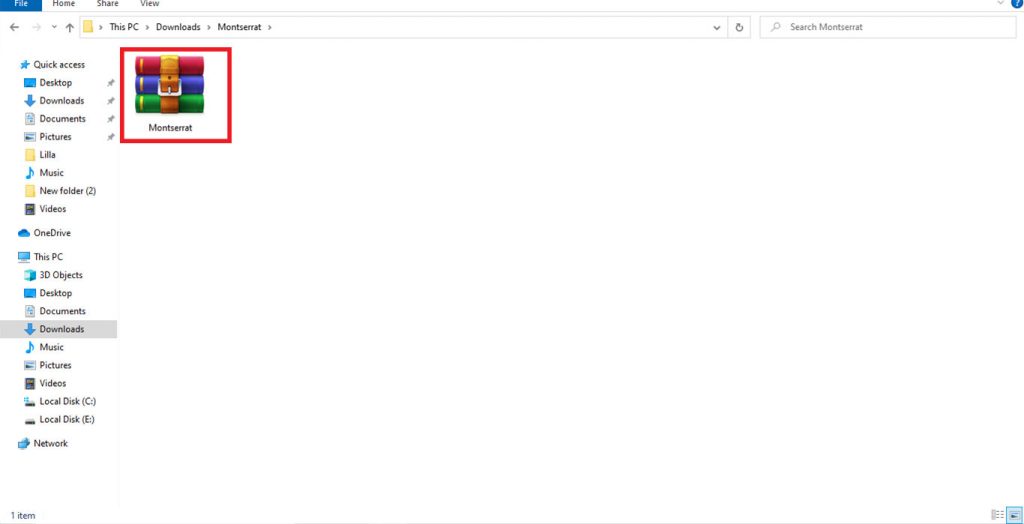
For this, we are going to download Montserrat Font from Google Fonts. We have to download and save the font on our desktop anywhere we want.

Step 2: Extract Zip And Open Font File
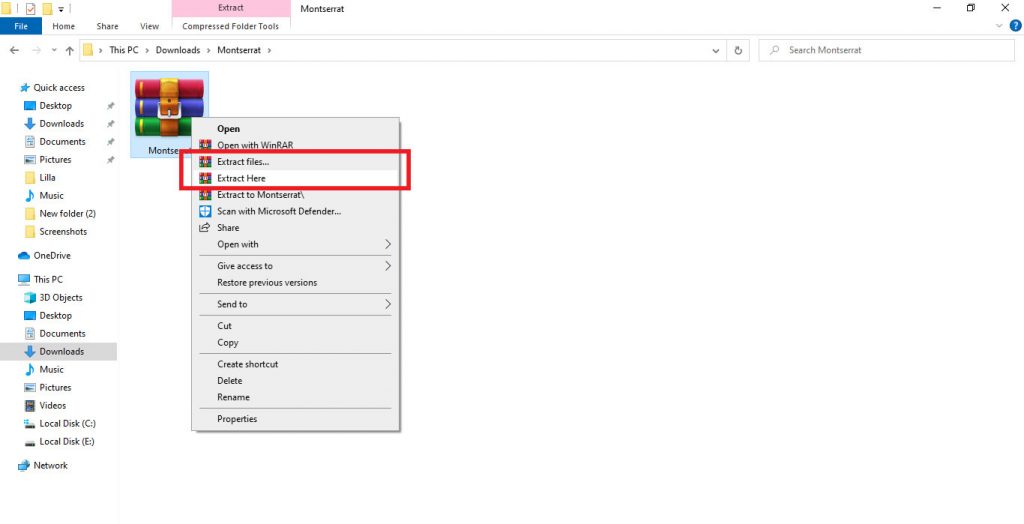
Usually, if you download some font from the internet you will get a zip file of font we have to extract that file with any software like Winrar,7-Zip, etc.
Open the zip file and extract it anywhere you want.
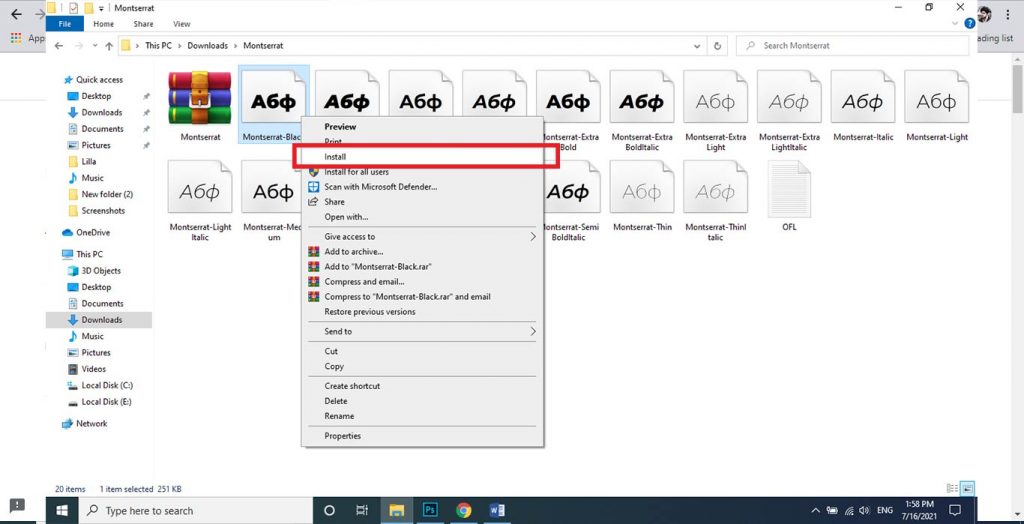
Find the Photoshop font by navigating the file with the extensions: .otf, .ttf, .pbf, .pfm in your extracted folder.
Step 3: Install Font In PC
There we have 3 Methods through which we can install fonts on our PC that are:
Method # 1:
Now we have to right-click on the font file in the extracted zip folder and then click on the Install button from Drop-Down Menu. You can click and select to install more than one file at a time.
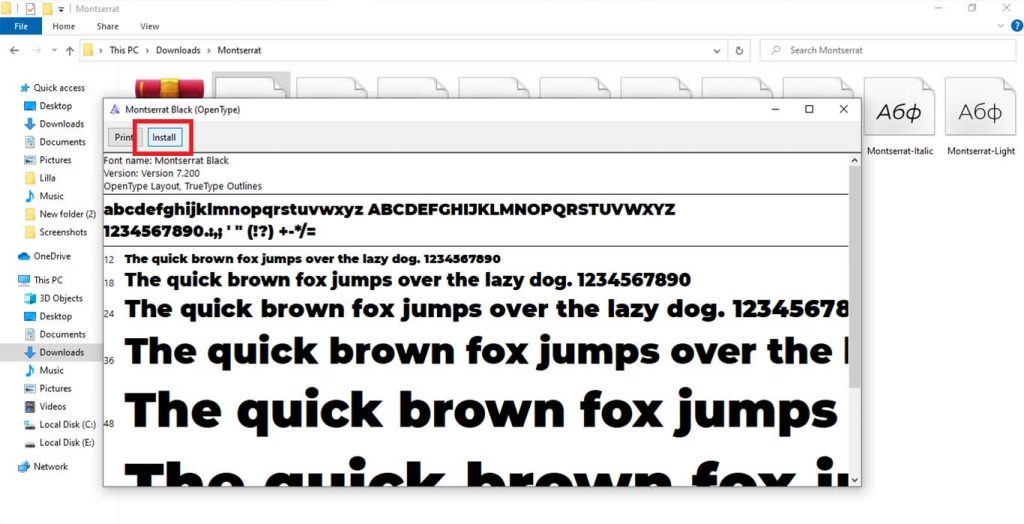
Method # 2:
If that method doesn’t work for you. You just have to Open that font file and after opening that file click on the Install button to install the font on PC
Method # 3:
In case there is no option Install when right-clicking on the font file, we can click on the Start Menu > Control Panel > Appearance and Personalization > Fonts.
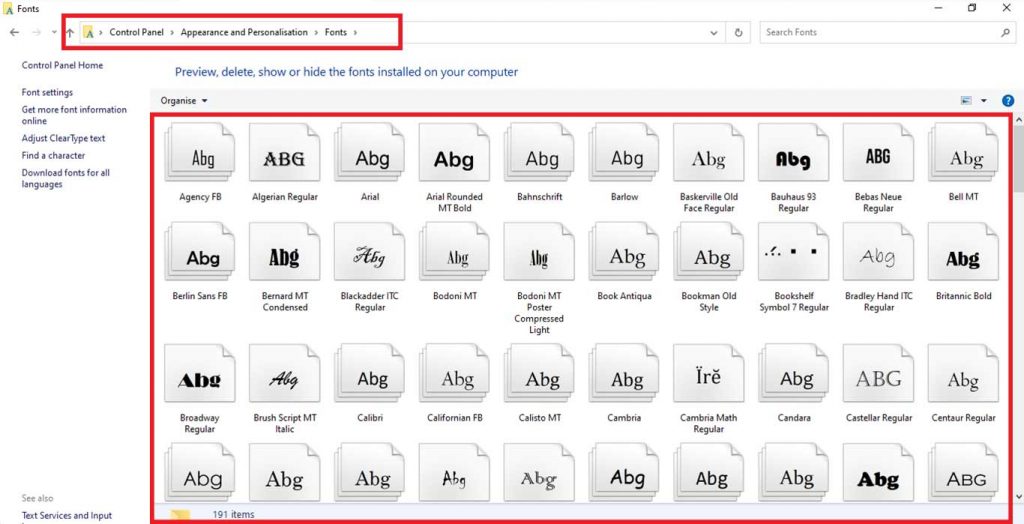
Then we have to right-click on the list of fonts and select Install New Font and select the fonts you want and hit OK when finishing
We can also simply copy and paste new font files into this list of activated fonts.
Install Font On Photoshop On Mac
Step 1: Download Font In MacBook
First, we have to download the font we want to install and use in our design on our Mac. You can buy premium fonts and also can use free fonts for Mac it’s totally up to you and which suits your design and your taste.
For this, we are going to download Montserrat Font from Google Fonts. We have to download and save the font on our desktop anywhere we want.
Step 2: Close All Active Application
Close all active applications, especially those where you will use the font. You can begin working with them after finishing the installation.
Step 3: Navigate Font In FontBook
Double click to open the downloaded zip folder, then double click on the font file which ends in .otf or .ttf to open the font in Font Book.
Step 4: Install Font In MAC
Method # 1:
After opening our downloaded font in the font book, simply we have to click Install Font to install. The font is installed and you can access it on Photoshop.
Method # 2:
If you don’t want to do this method, you can also install font manually through Finder. There are 2 places where you can place your font files to install them:
First is:
/Library/Fonts/
Second is:
/Users/<username>/Library/Fonts/
After finding the location, just click and drag the font file into the folder.
Related: Learn To Center Text In Photoshop Step-By-Step With Pictures With One Click Only.
Conclusion:
After doing all the above steps you have successfully installed font on your hardware now you have to re-open Photoshop and you can access them there. You are good to go through your project!
See Video For More Info:

I’m a Graphic Designer with 5+ years of experience. Specialized in Adobe Photoshop.
Get Info About Any Photoshop Editing, Photoshop Manipulation, Logo Design, Flyers, Business Card, Cartoon Portrait and any type of work-related to Graphic Design and Photoshop Editing.


Thanks It helped me a lot
Your Welcome💖
Highly energetic blog, I enjoyed that bit. Will there be
a part 2?
TYSM For Kind FeedBack✨❤…..Part 2 About which topic? Font Installation?
I do not even know how I finished up right here,
but I thought this post was great. I don’t realize who you might be but certainly
you’re going to a famous blogger for those who are not already.
Cheers!
[url=https://tenormina.charity/]atenolol 100 tablets[/url]